Bye bye Mac (2): Securely Erase the SSD
This is part 2 in my series on Getting Rid of My MacBook — essential information that's hard to find!
There are lots of how-to's out there on the net, and many of them tell you to turn off FileVault before erasing your disk. That is completely wrong! DON'T DO IT!
Follow the outlined procedure:
- Hold Cmd-R while booting up.
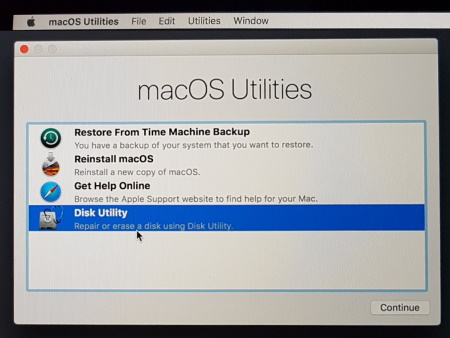
Run Disk Utility.
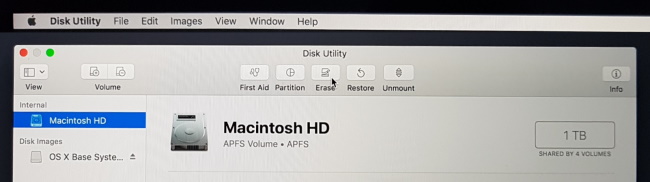
Select your hard disk on the left and click [Erase].
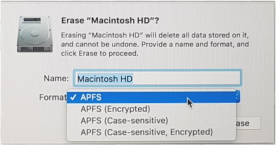 Keep the default format. Don't choose "Encrypted" either, because you would need to specify a password on behalf of the new owner.
Click [Erase].
- With an SSD, you will be done in a few seconds. But — no way it has erased the entire SSD!
- If you had encrypted your disk using FileVault, then this process simply destroys the decryption key. Without the key, all your SSD content is just random bits that cannot be decrypted anymore. This provides adequate security, and if you're not a high-value target, then you're done here.
- If you did not use FileVault, or you made the mistake of disabling FileVault before erasing the disk and thus decrypting the disk content into plain data, then your data remains intact. It's not straight-forward to recover your data, but it's definitely still there, and Apple does not tell you what to do about it.
- (If you have a hard disk rather than an SSD, then the process took hours rather than seconds, and all your data is overwritten, securely enough for normal users.)
- If you had encrypted your disk using FileVault, then this process simply destroys the decryption key. Without the key, all your SSD content is just random bits that cannot be decrypted anymore. This provides adequate security, and if you're not a high-value target, then you're done here.
- Quit Disk Utility.
- If your data is still on the SSD (or you have extreme security requirements) let's proceed to really erase it:
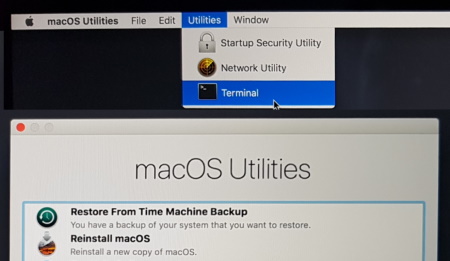
Run Terminal.
(Don't be surprised that "Utilities" are in two places — logic is not part of the Apple UIs...)
- Type "
diskutil secureErase" at the prompt and hit Enter to see the syntax of the command:
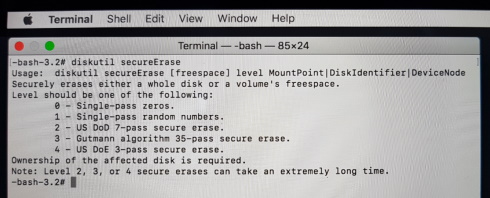
- Now type the command to do the actual erasing and hit Enter. Typically, this is
diskutil secureErase freespace 1 Macintosh\ HD
Let me explain the parameters:
freespace- Since we erased the disk, it has practically nothing but free space. That's what we want to overwrite.
1(a digit!)- That's the type of secure erases / overwriting that we want to do (see above).
- For an SSD choose either
0or1; anything else would cause unnecessary wear on the SSD. Recovering overwritten bits on an SSD would be extremely difficult and expensive, so overwriting once is enough for all practical purposes. - For a hard disk you may want to select a higher level, depending on your need for security and the time you want to spend. You can try
1first and see how long it takes, and then run one of the higher levels afterwards.
- For an SSD choose either
Macintosh\ HD- That is the name of your disk that you selected in step 3 above.
Note: If the name contains spaces, you need to insert a backslash in front of each space.
- Press Cmd-Q to close Terminal.
Go to part 3 to Reset the Firmware Password for another well-kept secret.